
Does this happen to you? Peripherally, I become aware of some thing that needs doing and at first, it's a little thought, nothing major, easily ignored. Then, I start noticing it more and more frequently and it begins to niggle and irritate. Finally, it reaches a point where I absolutely have to stop and deal with it. That happened yesterday with my pressing surface.

I take a lot of photos here with the lamp and the natural light from the window and I'd begun to notice that the previous black and white geometric cover was distracting. Occasionally, it just didn't work and I'd fold back the pressing surface and use the white table top below only it's quite scratched and could also be distracting so I'd pull out a roll of white paper. It was getting to be a lot of work.
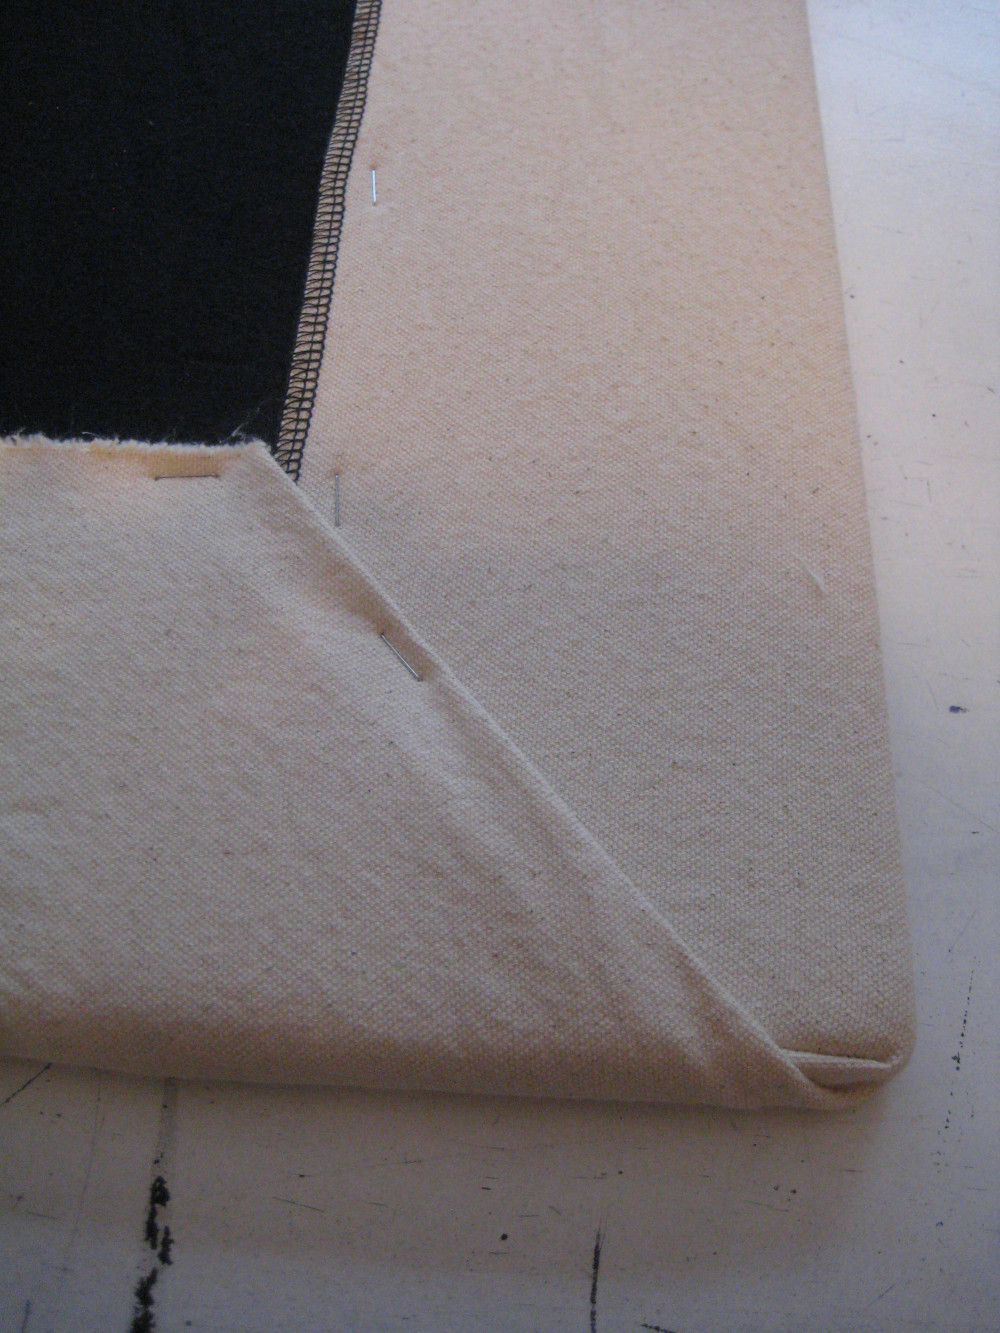

When I started taking photos for this post, the nagging reached peak point and I couldn't stand it any longer. I took off the black and white cover, replaced it with beige canvas, stapled the canvas to the back like the black and white fabric had been - which is both quick and easy to do and to undo - and had the new surface done in about five minutes. It's less distracting although I'll be using a lint roller more often. That's okay. It's much better for photos so... why didn't I do it sooner?


Recently, I discovered a new zipper method that I wanted to try on a basic boxed corner bag. Instead of reinventing the wheel, I simply folded my existing pattern narrower until it fit on the fabric I had and then cut out the new bag with the squarer shape that...


... you can see in this image above left. The pattern shows the original angle and the fabric shows the new one. Because it's straighter, I also straightened the lines of the cut out, corner square.

The shape I'm thinking of is something along this line but boxier. It'll be about 12" across the top and as wide across the bottom as the fabric allowed. I don't actually know the width. I didn't measure it.

This image shows the layers of paint I talked about in the last post. Before I went any further with paint, pockets, and other details, I wanted to know which handles I'd use and how they would be attached. These two have different ways of attaching but both are shorter in length - hand held.

This handle has tabs and D rings, basically a combination of the last two, and is also longer with an over the shoulder length. The chalk lines show where the folds will be although the corners will be wrapped around the sides so it's not entirely accurate, just a general idea for adding motifs.

I began the second painting session with a layer of pink paint that I drew flower shapes into before monoprinting. It created a soft haze but didn't do much else. You can't see the flower shapes. After that, I added large roses in a dark purple and then a cluster of flowers in turquoise. I liked the old carpet bag look the piece was developing but didn't think it was all the way there yet.
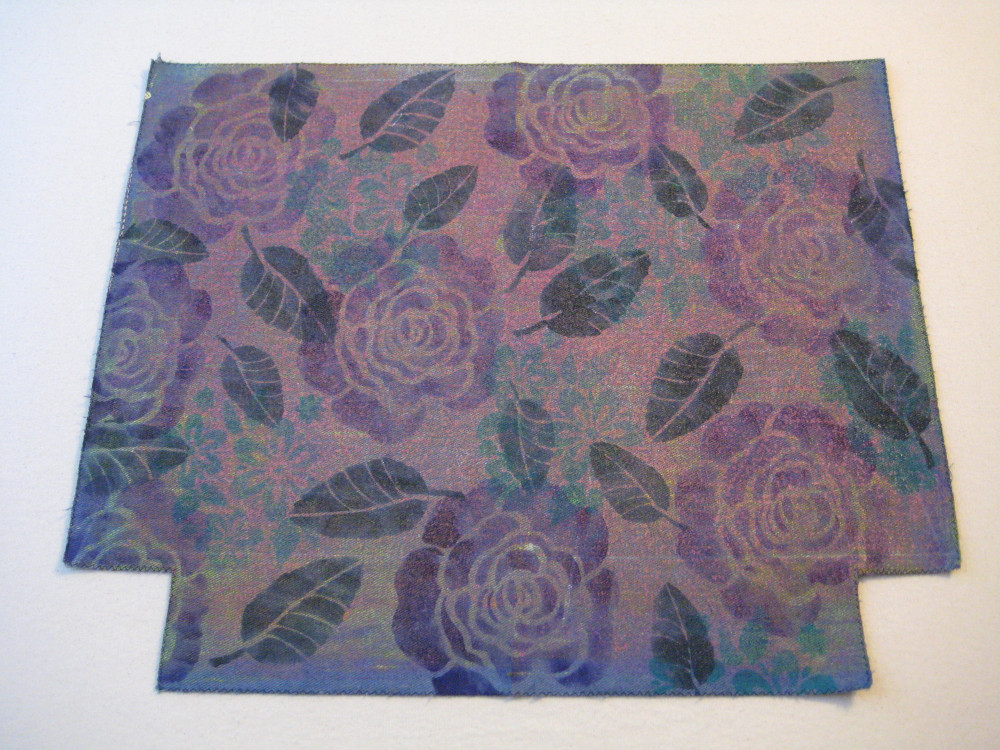
Unfortunately, I don't have a scrap to play with so I'm being very careful going forward. Here I mixed a bright blue with some black paint to get what is actually a dark denim, although it looks green on the fabric, and stenciled leaves in two different sizes. I like this and I still think it needs something more.
I'm debating outlining the flowers with a felt pen and/or adding an all over grid pattern in thread that will bring the elements together. Painting the grid would be too heavy. I want it to be more subtle and the same with the outlining. I wouldn't use black, perhaps copper or silver or both in different areas. I'll try a teeny tiny corner of the seam allowance and see what I think before deciding for sure.
A post that was very popular in the past and was in the part of the blog that's been lost was called 119 Steps to Refashion a Dress to Sweater (or something along that lines) and outlined the entire creative process of making the cardigan. I've been taking similar notes while I make these handbags to see if I want to include that information in the book... when I get to writing it.
This week, I had the lucky fortune to reconnect with one of the women from the retreat. I thought she might be able to direct me to some resources and it turned out she was the resource I needed. We talked for well over an hour and I am SO thankful for the conversation and for her willingness to help me. I was doubly thrilled that she is also working on big project that she'd like support, encouragement, and accountability around and we've agreed to help each other. We're going to touch base again in a couple weeks. YES YES! What a gift
One question I asked her advice on was whether to focus on the book, the patterns, or the workshops first and her thoughts echoed what I'd been thinking - the patterns and workshops in tandem. So, develop this pattern and that workshop and then the next pattern and the next workshop so the pattern/workshop are ready at the same time and work together. And after that the book. This feels like the right approach and means I'll definitely have a workshop ready for the fall. I've made a good start on the first set already.
Talk soon - Myrna
Grateful - support, encouragement, accountability
S0 delighted to read you are creating a design idea and a workshop! I have been reading your blogs for years and always wondered why you didn't teach. Teaching is a journey in itself and I think it is time for you to share your amazing talents.
ReplyDeleteStephanie S
Thank you Stephanie. I have actually taught before but not in the last decade. I both travelled to teach and taught extensively online at QuiltUniversity. I really enjoy both writing and teaching so I'm enjoying being back with them.
Delete